Adding a LED lightbar to pugly.
Overview
My daily driver is a Peugeot 1007. It's pretty nifty and unique which is one of the reasons I love it so much, However it's illumination is somewhat lacking, even with the full beams on and with decent bulbs. So I came up with the idea of adding some driving lights (mostly for countrylanes). Initially it was just a pipe dream, but recently I was browsing eBay and I bought a cheap china LED bar.. which made the project a reality.
Plan
My overall idea was for the light to only be able to be used with the full beams on, and then only if it was enabled by a switch. This way it's legal and can't accidently be turned on with the normal dipped headlights. After discussing the plan with my friend he kindly made a wiring diagram for me (as this is my first big electrics project).
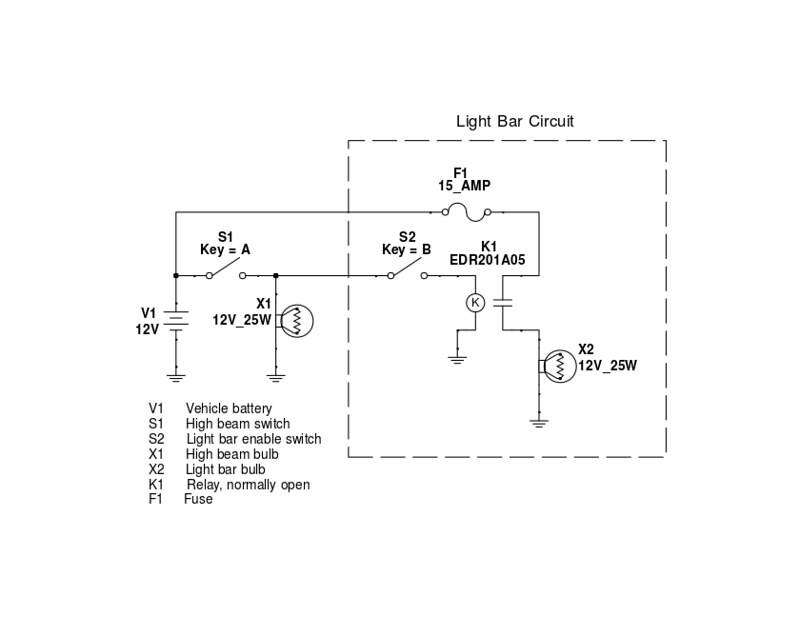
With the headlights on I used a multimeter to determine which of the cables on the bulb socket was for the high beams. This is the cable that would be tapped to power the coil side of the relay. I also decided that the light bar will be fixed to the roof with some hench magnets, this is less destructive than modifying the front bumper/grill for a mount and will allow for it to be easily removed if it needs to be.
With the diagram and the plan, it was time to assemble the components.
Bits and bobs used.
Links where available.
Parts
- LED Light bar
- Relay
- Spade connectors
- Fuse piggyback connector
- Positaps
- Switch
- 2mm wire (5m red/5m black)
- Various sized heat shrink tubing.
- Misc crimp connectors
- Car roof magnets (102mm x 127mm x 12mm)
Tools
- Wire stripper/crimper
- Pliers
- T20 Torx screwdriver
- Multimeter
- Jet lighter for the heat shrink
- 10mm spanner
- Drill with 10mm bit
Pictures of the install
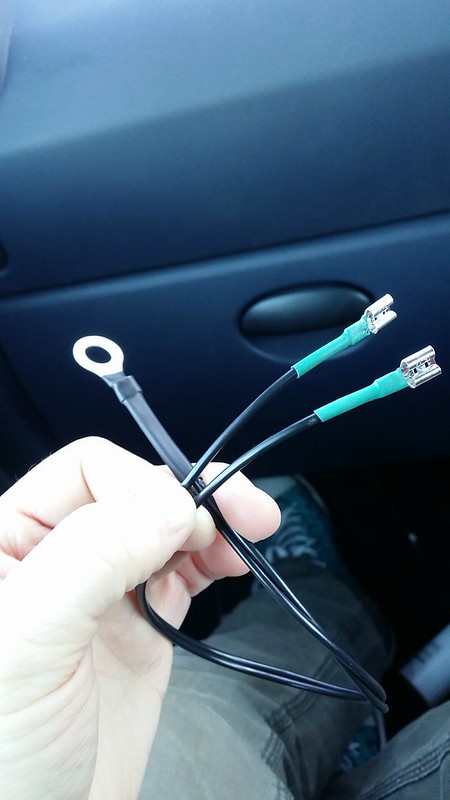
Constructing the negative earth cable.
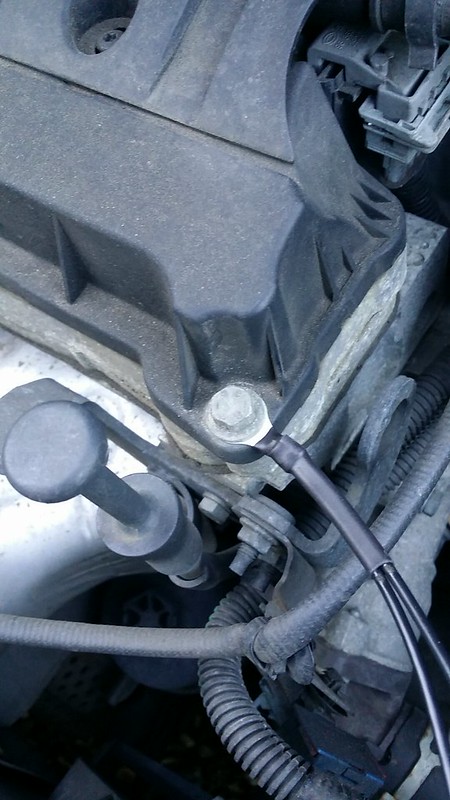
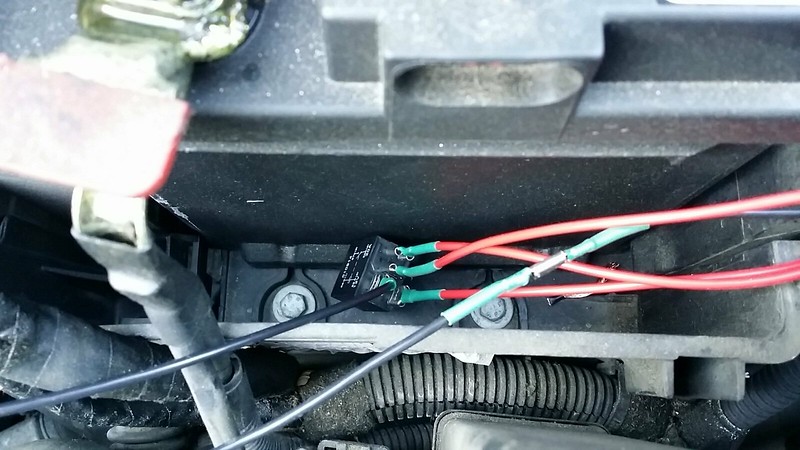
Negative earth cable secured to engine bolt (10mm spanner)
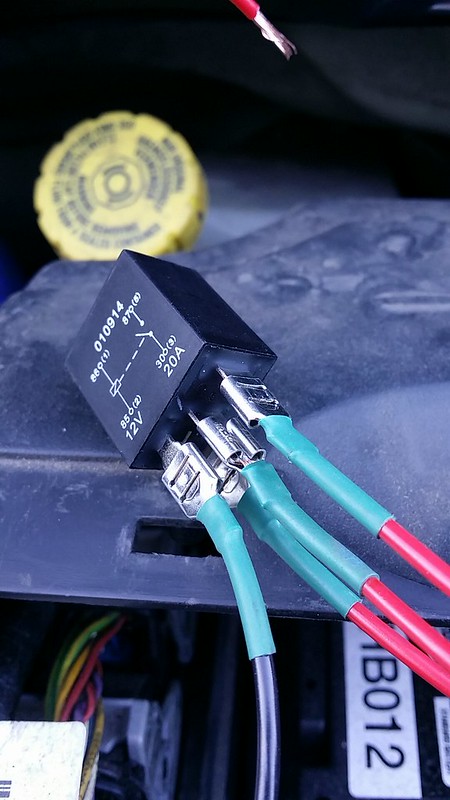
Relay connected up
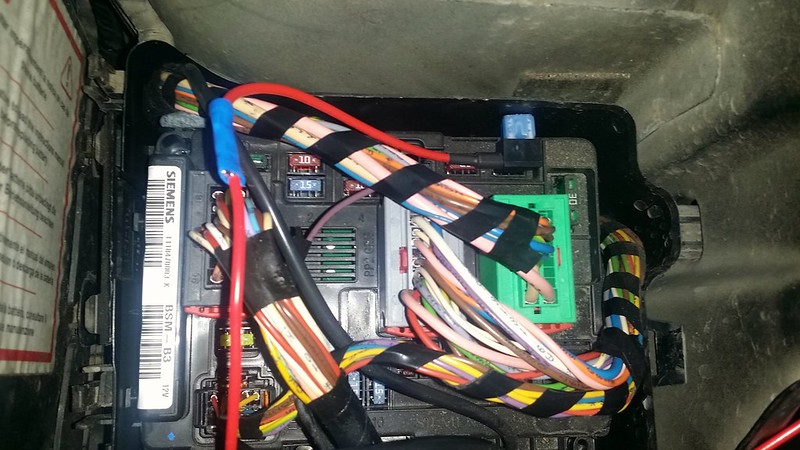
Piggyback fuse connector in place for the power feed for the light bar
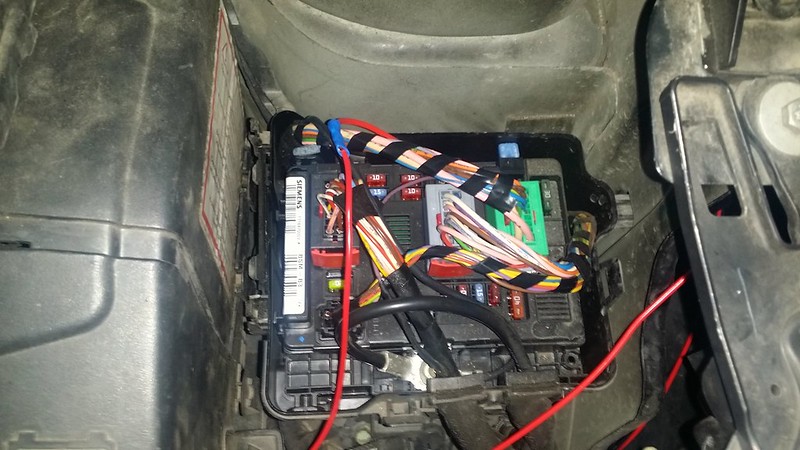
Covers back on
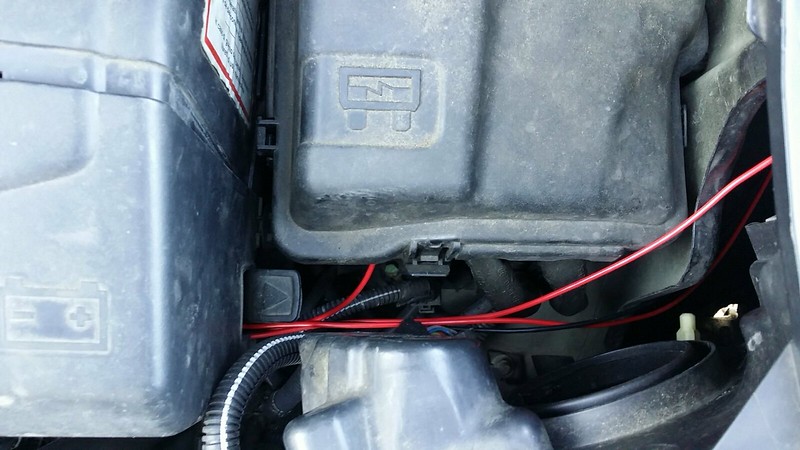
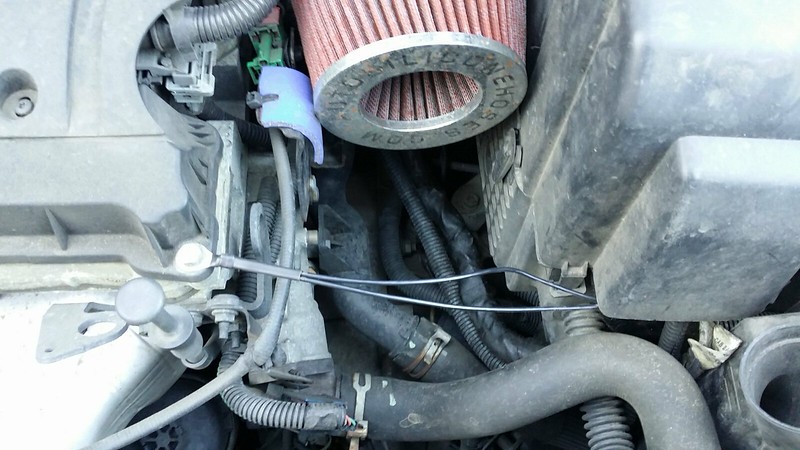
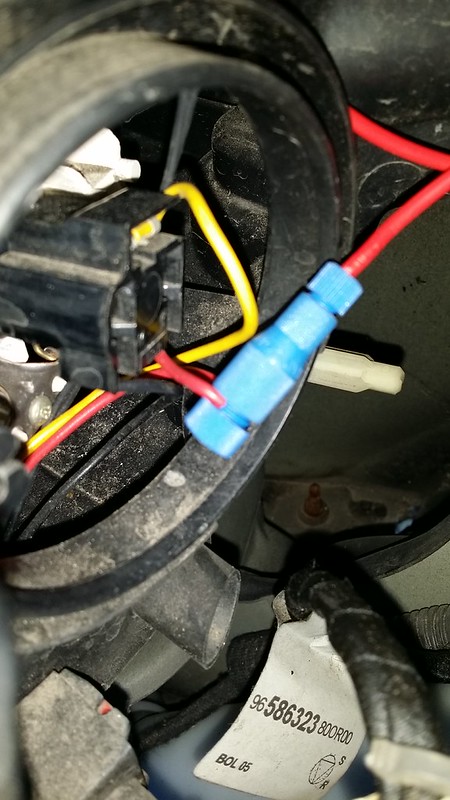
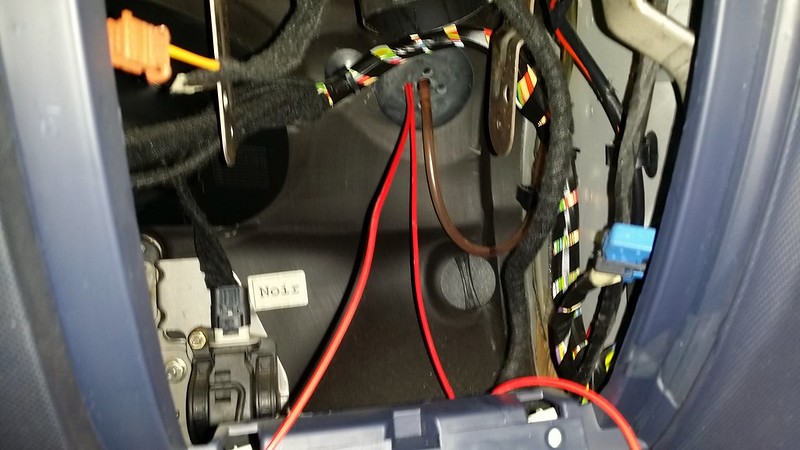
High beam wire tapped
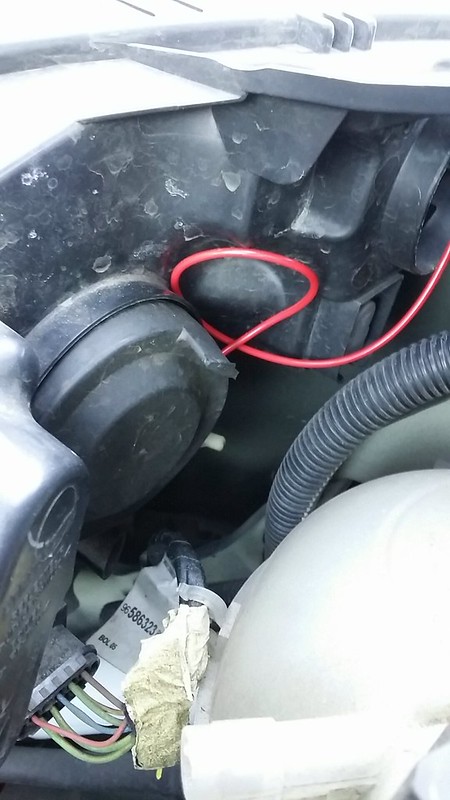
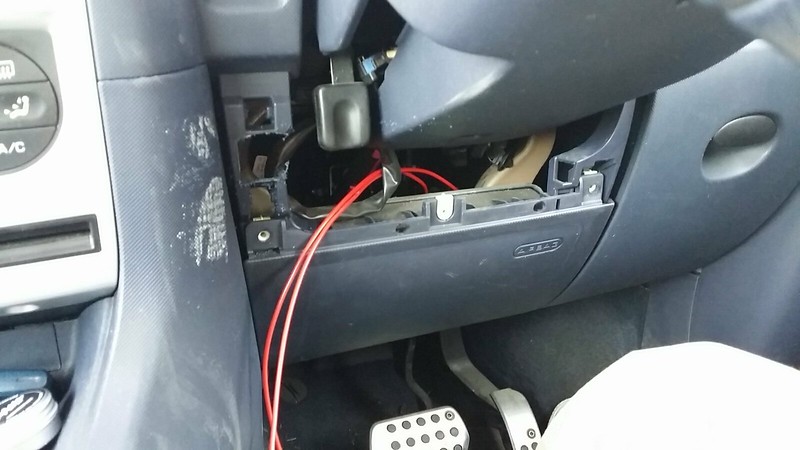
Feeding wires through the firewall for the switch in the cabin
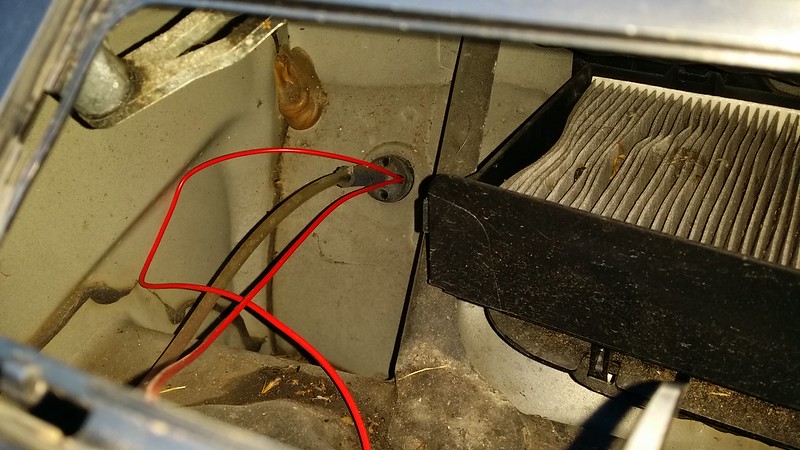
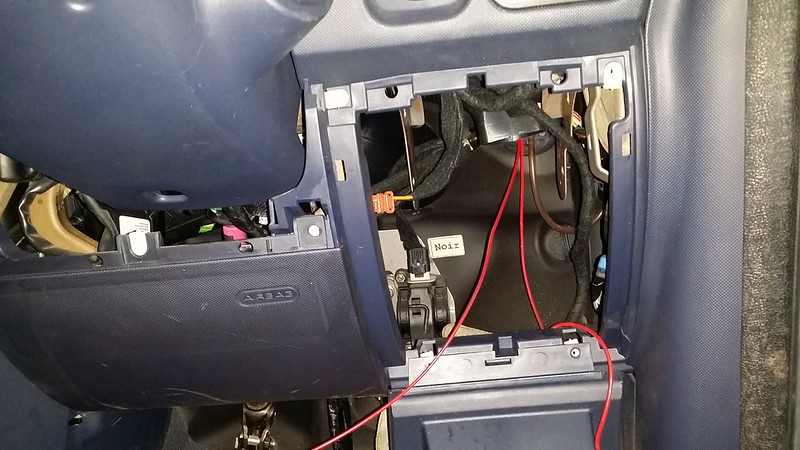
Wires cabin side
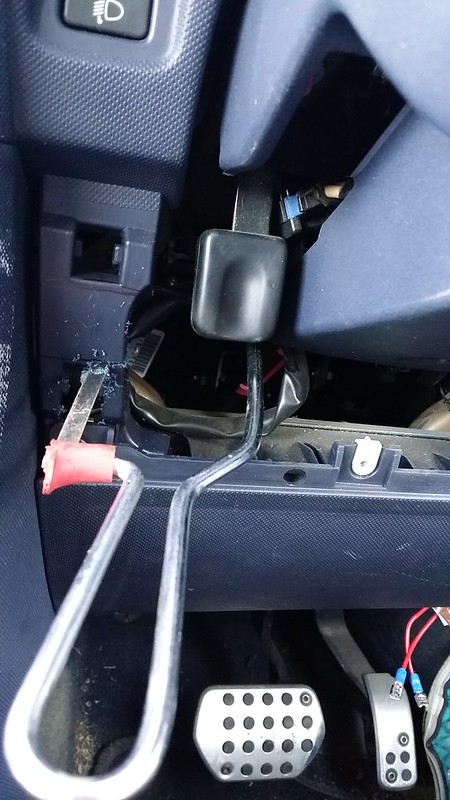
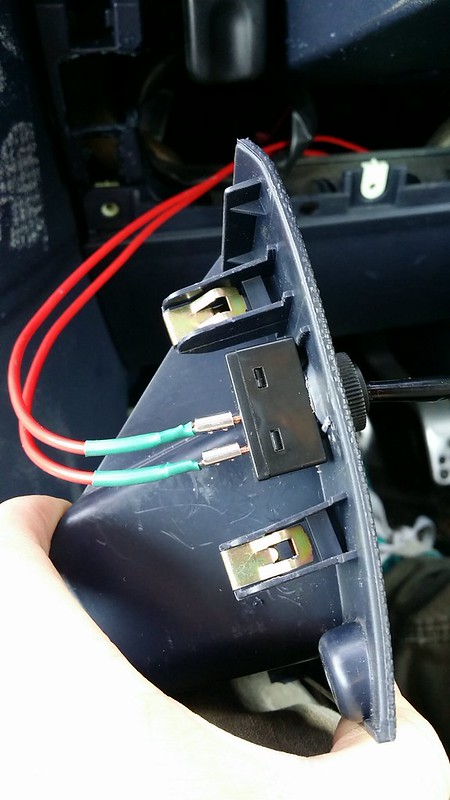
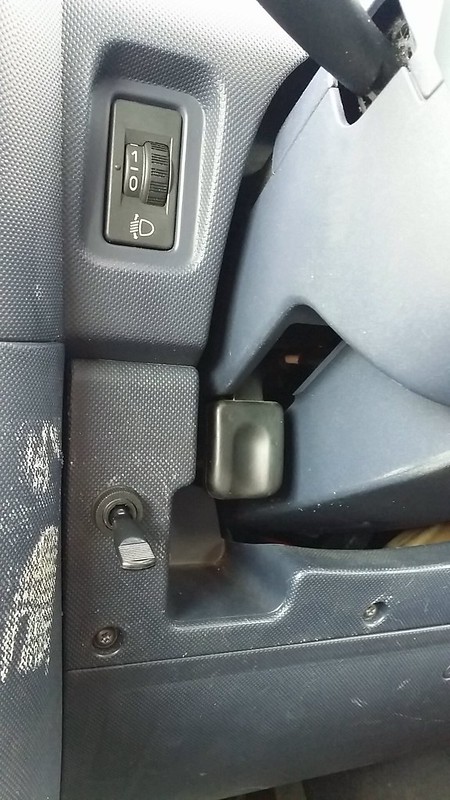
Drilling hole in the dash panel for the switch
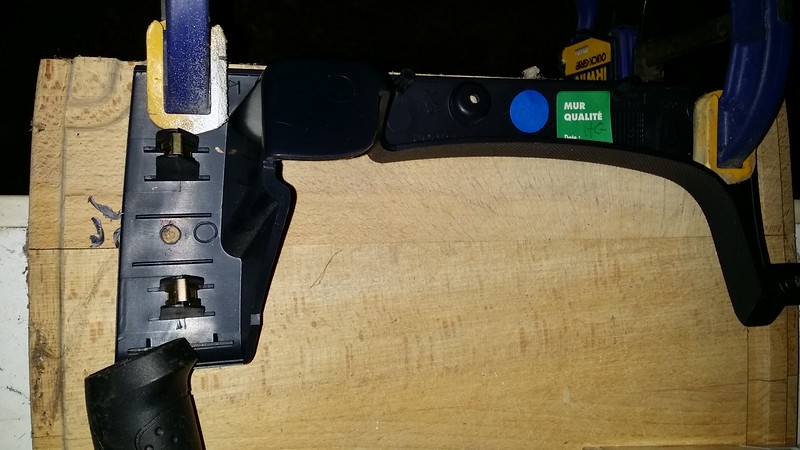
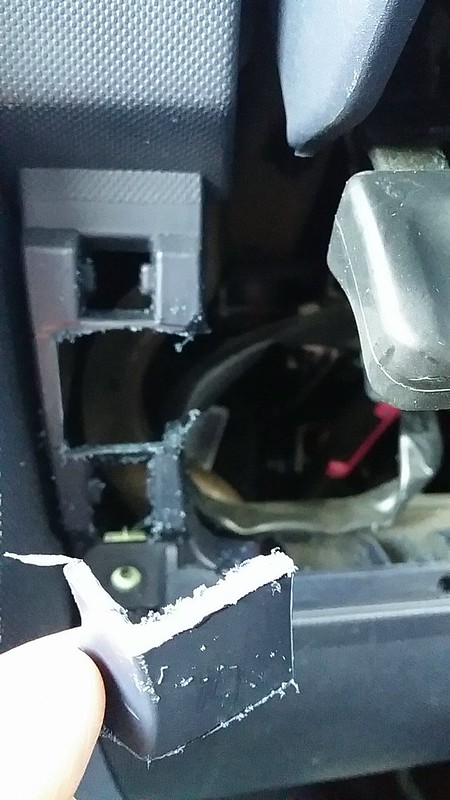
I discovered that the 10mm hole was too small for the switch thread, so I had to ream the hole out with a 12mm cold chisel.
A piece of pugly had to be sacrificed to allow the switch to fit.
Feeding the switch wires through.
Spade connectors added and wires heatshrinked.
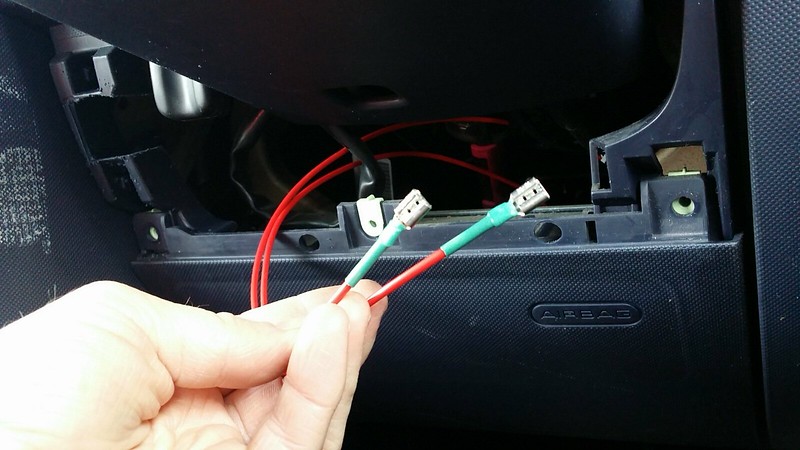
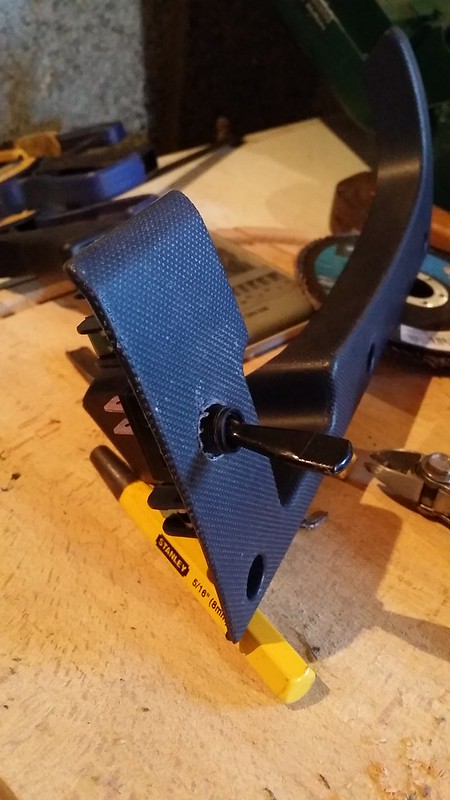
Switch wired up.
Dash panel refitted.
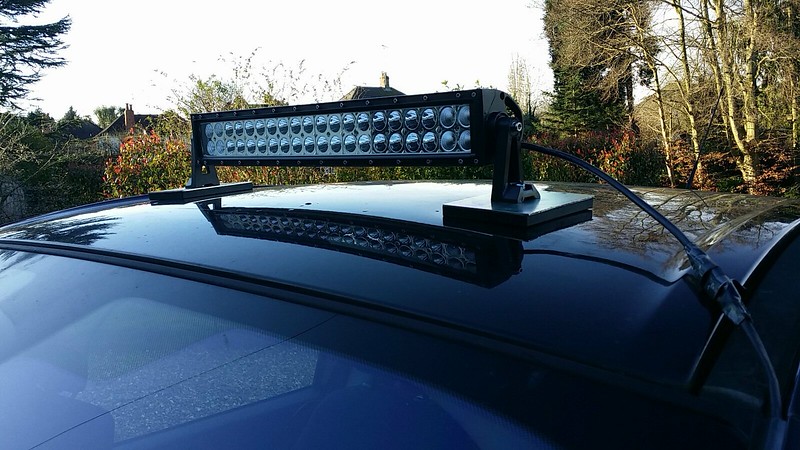
Light bar fitted to roof, it's virtually impossible to move the bar with the magnets. They are very strong.
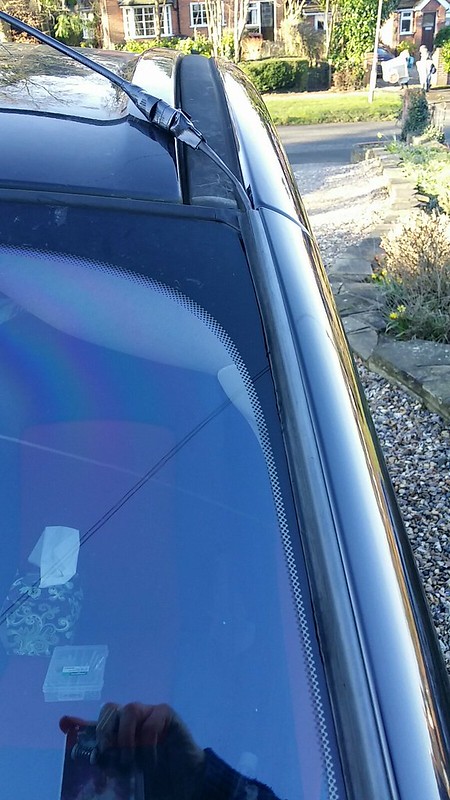
Wire ran down side of windscreen (under the body panel).
Front view of the completed install.

Video
Video of it in action.
Todos
- Better insulate relay connections, to prevent shorts. At the moment I have just added some loose heatshrink tubing.