My landrover series's gearbox is a bit ropey, it's definitely seen better days and judging by the blue instant gasket that has oozed out between the mating plates at least one previous owner has been inside it. Everything else I have discovered that's wrong with the landy has been due to a previous owners bodge job, so I'm wondering what horrors lay within the gearbox. The main issues I have are; it doesn't go in/out of 1st and 2nd very well, when it does want to go into 2nd it will normally scrunch, sometimes you can't find 1st or 2nd at all at a stop (which is fun at junctions). Thankfully it will pull away in 3rd with some gentle loud pedal and some clutching. There is also a very noisy bearing whine from the general bell housing/gearbox area that goes away when the clutch pedal is depressed, it can be heard over the engine at idle. Other than this it drives fine, and once it's in gear it's fine it doesn't jump out or anything.
I had been looking into getting the gearbox/transfer case rebuilt by a company but that also runs into issues. The place that people seem to recommend the most isn't currently taking orders and were fairly expensive, and the others are either humongously expensive or have mixed reviews. So I started to look into what it would take to rebuild it myself, and it doesn't look too terible. It's just bearings, seals, and endfloat. How hard can it be? I have the workshop manual and there are some good blogs/videos (1/2) on it from people who have done theirs.
My plan was to buy a second hand box off ebay to rebuild, then swap it with my box once complete. I can then marvel in the delights/horrors that lie within mine when it's on the bench, and still have a working landrover thoughout the whole process. So with this I started to look at ebay every so often for a decent box that was either close or had delivery. Sadly most of the ones listed seem to either be early series 2/2a boxes that don't have full syncromesh or were collection only and the opposite side of the country. Eventually one did come up that was a complete series 3 box and was fairly close for collection. It was up for £270 but I put an offer in for £200 that was accepted.
My friend was super awesome and helped me collect it, he has a defender so perfectly fitting for collecting landrover parts. Here it is strapped down in the back.
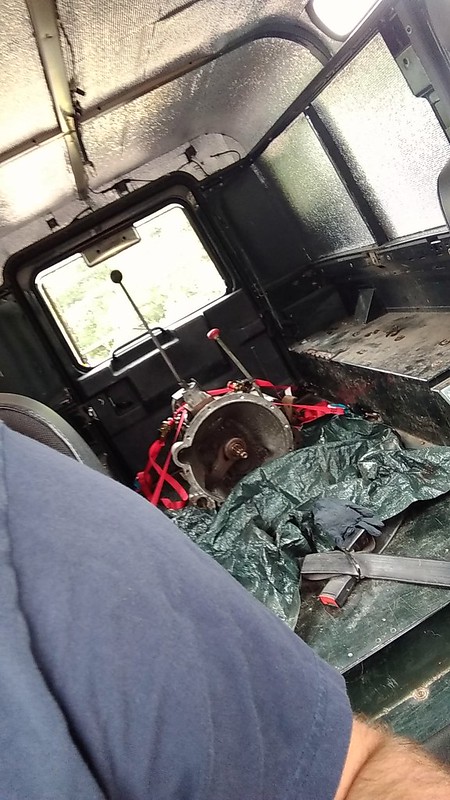
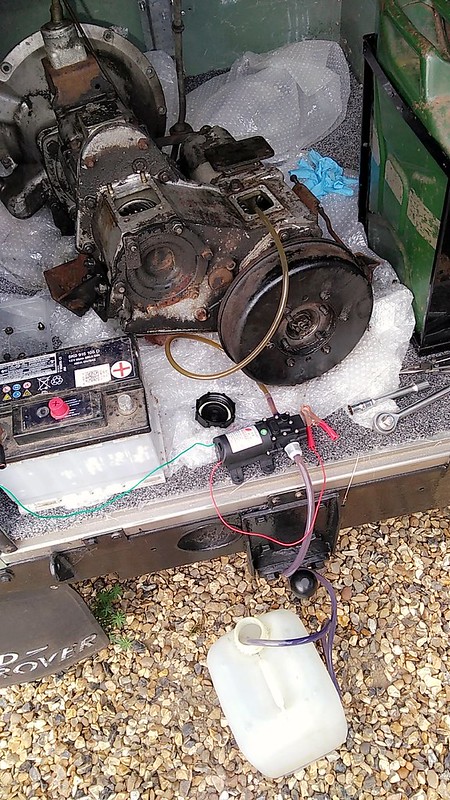
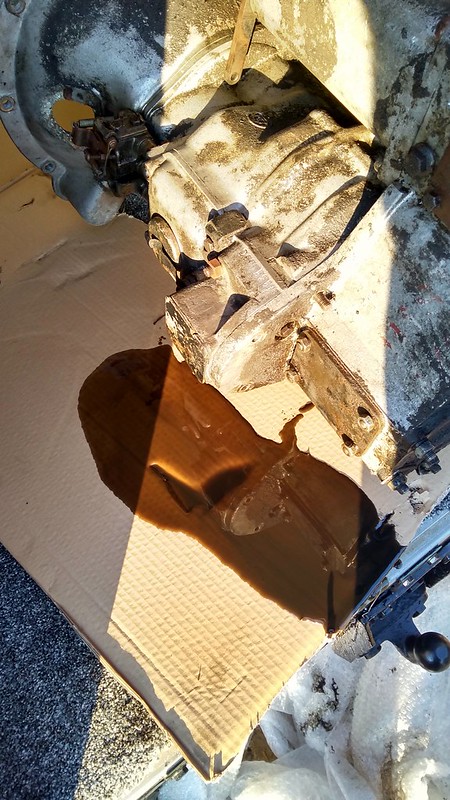
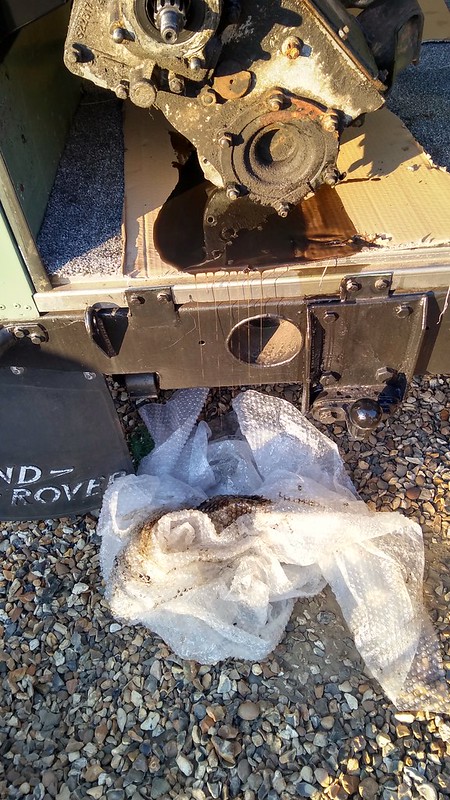
Landrover series gearbox/transfer cases are heavy. I knew that it would be fairly hefty but figured it would be manageable with two people, not a struggle. Once home it was placed in the back of the series. I did a lookover of it and discovered that the guy I bought it from did not drain the oil from the boxes as he said he would. This presented an issue as I had to remove the oil before I could split the gearbox from the transfer case but I couldn't lift it up to gain access to the drain plugs as our drive is gravel and sloping, no good for a crane. I managed to tip most of the oil out of the main box from the fill plug. For the transfer case a cheap oil/fluid transfer pump was sourced from Amazon, it's the finest chinesium but doesn't seem too bad for the price. The inspection plates were removed and the hose poked in. The pump was connected up to an old car battery that was lurking in the garage, and slowly but surely it sucked all the oil out.
Once that was done, it was onto the splitting of the boxes. The fairly simple looking instructions..
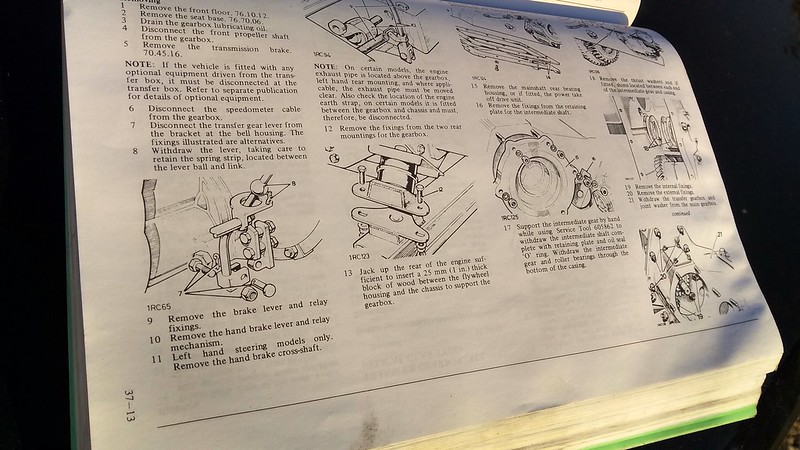
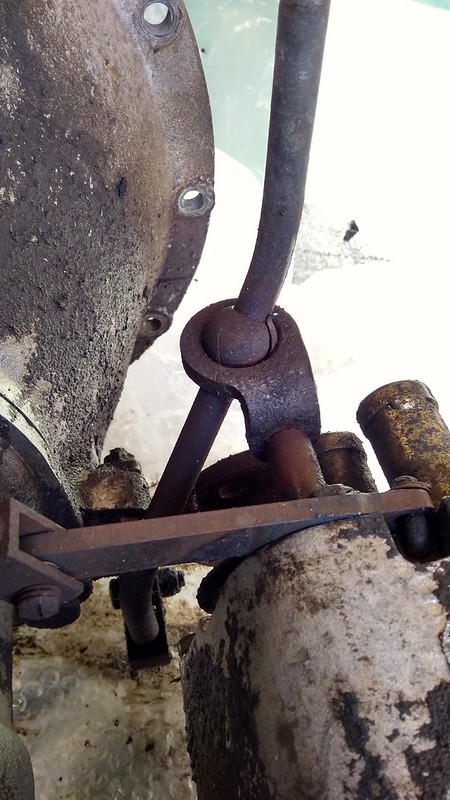
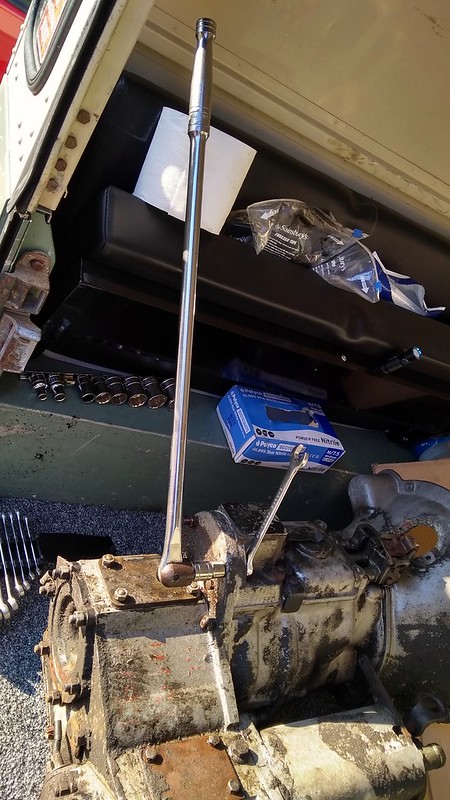
The first thing to do was to remove all the levers so I could turn the box upside down. This is where I ran into my first fully whitworth fastening of the day (and first of many to come). Fully as in nothing metric or imperial was close to fitting it. It was 1/4 and the bolt/nut was the one holding the red high/low lever in place. In the picture it's in the middle closest to the floor (looking from above).
Also in the picture at the top is the clevis pin that holds the yellow knob lever to the lever on the transfer box. This came undone quite easily with a screwdriver (dispite the rusty look) once the tiny split pin on the other side was removed.
Once the bolt was removed, it was just a case of awkwardly removing the lever downwards, with some tipping of the box require due to it being in the back of the series. I imagine it's much easier if the box is still in place. Making sure I didn't lose the little spring clip that locates the ball into the pivot hole.
The main gear lever was also unbolted.
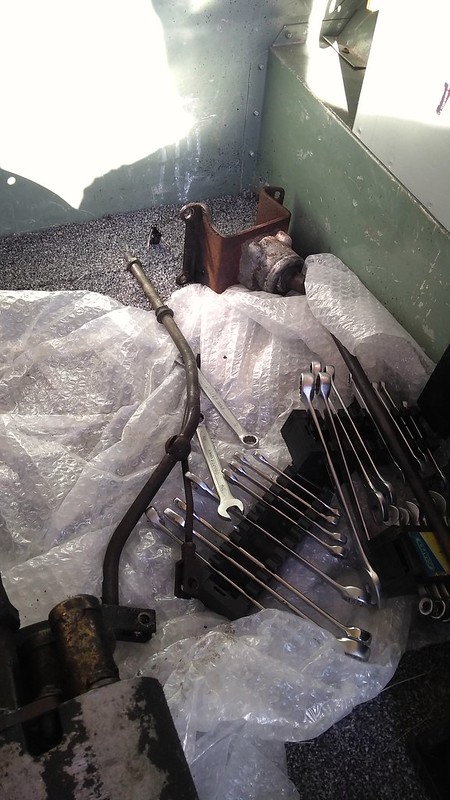
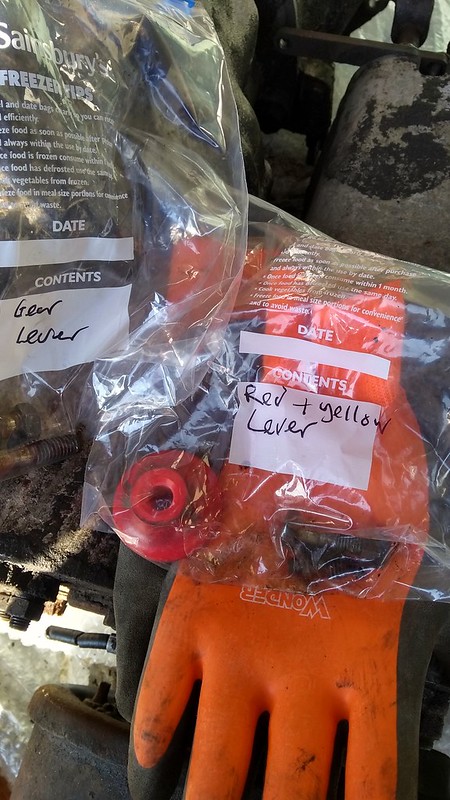
All small bits were placed into labeled bags.
The next stage was to remove the transmission brake drum, so I could get to the nuts that hold the drum/brake plate to the transfer case. I spent a bit of time trying to figure this out as I removed all the small nuts that surrounded the front of the drum and it still wouldn't come off, at this point I decided to consult the manual and it turns out you only need to remove the large 1" castellated nut (with split pin) on the output shaft.. (doh!).
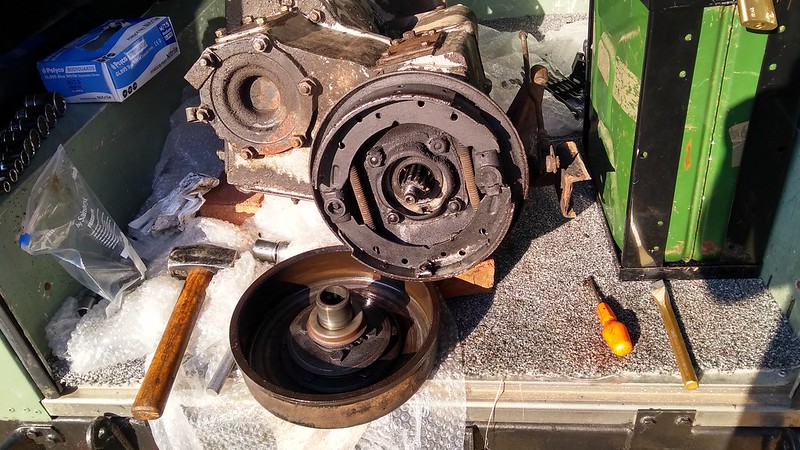
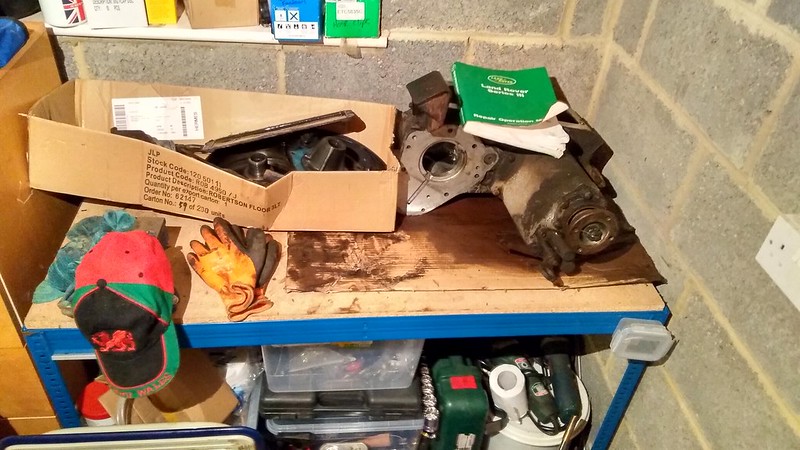
In the picture you can see part of the brake actuator mechanism sitting on the bottom brake shoe instead of in it's rightful place. In the manual it says to remove the hand brake linkage however it was rusted up solid so the backing plate was unbolted with it still attached and all fastenings and small parts were placed into a labeled bag. The big parts were placed into a handy cardboard box for later overhauling.
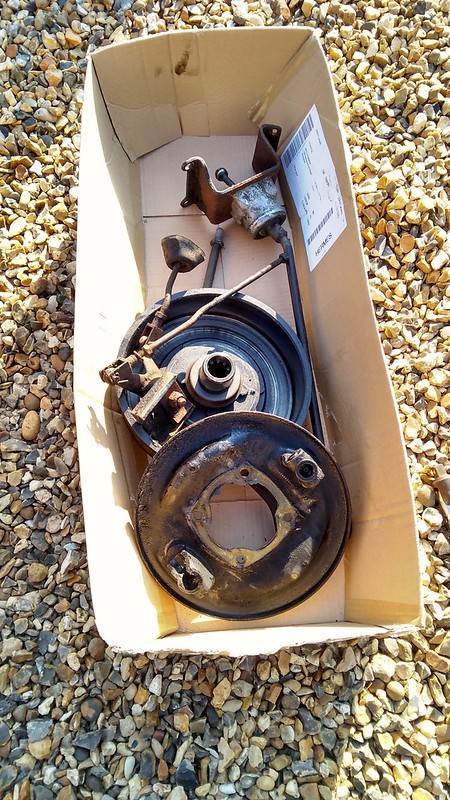
What we are left with
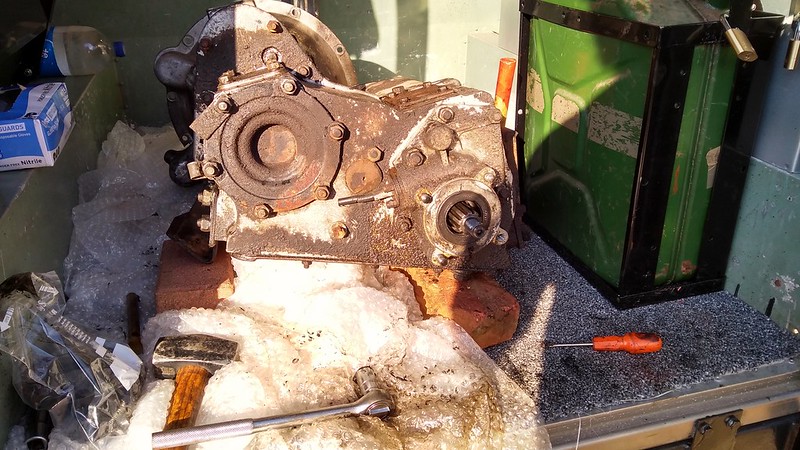
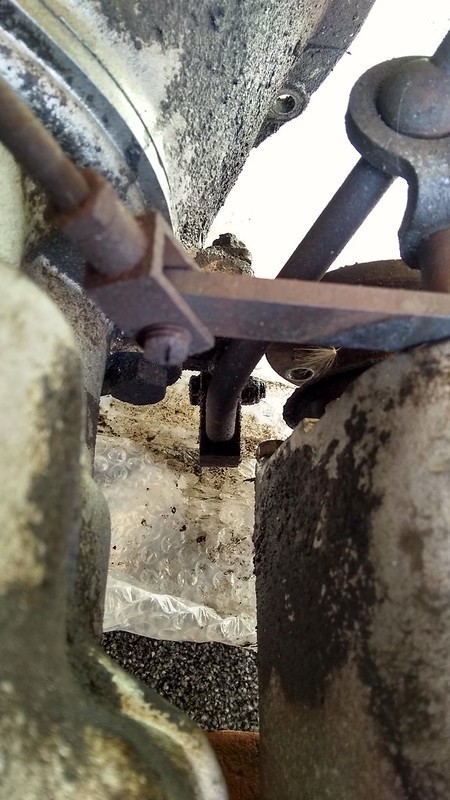
Next up was to remove the outer fixings that hold the transfer case to the main box. There are five and they are all whitworth. The top most two are 1/4 and the rest 5/16. The two top ones were very rusty and not very well lubricated so I had to use the breaker bar with a spanner braced against the casing to undo the nuts.
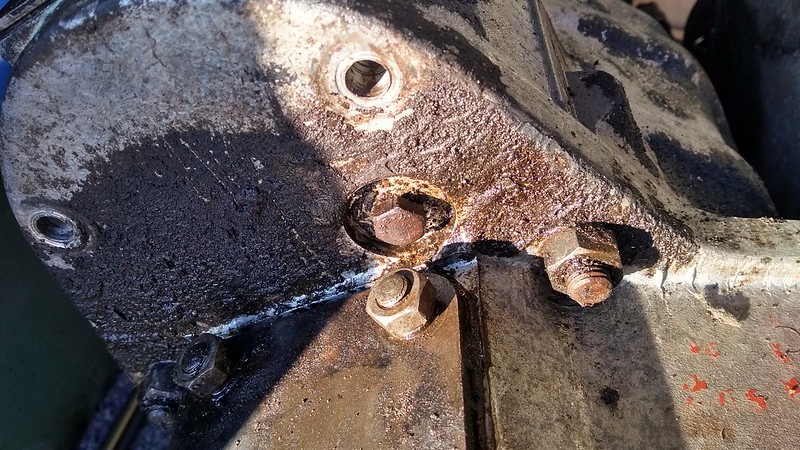
Of the remaning three, two were captive studs and one was a bolt and nut. They came undone with relative ease due to being covered with gearbox oil/oily grot for years, I put the spanner on them and tapped it with the rubber mallet to free them off, then undid them with the socket and ratchet. There is a small bolt sitting in a recess that I'm not entirely sure what it's for, but it's removal was not needed. I'm sure I will find out it's purpose in due course (some kind of stop for the gear selectors?). To the right of it you can see one of the 5/16 nuts to remove.
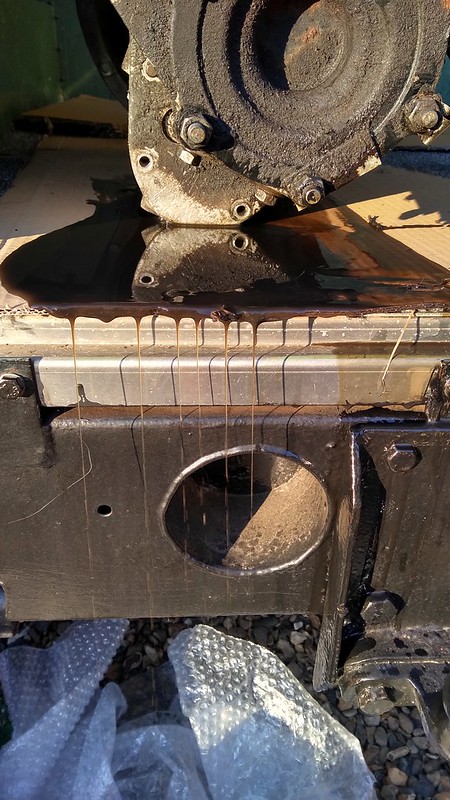
It was now time to flip the box upside down so I could access the transfer case cover. I decided to put some cardboard down instead of the bubble wrap it had been sitting on before (to stop grot getting on the carpet too much). It was at this point I discovered that when you turn the box upside down any remaining oil in the gearbox will flow out of the holes that the gear change lever bracket bolts into.
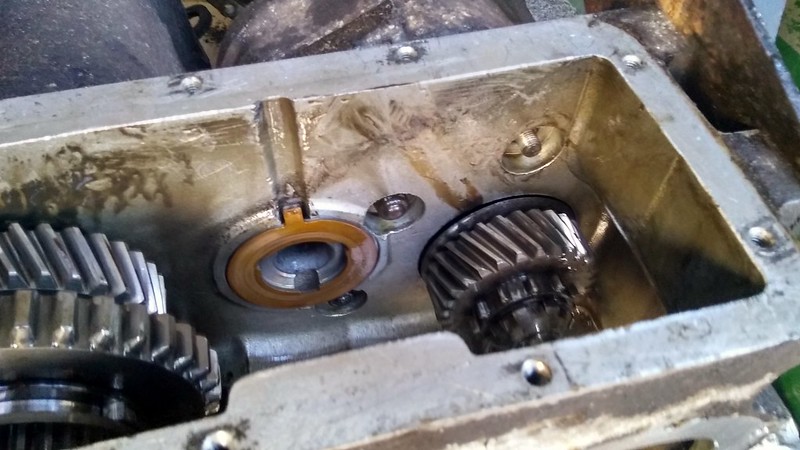
Now that the box was upside down and my rear tow ball had been given some some extra rust prevention, it was time to remove the transfer case cover in preparation of removing the intermediate gear. The nuts are 7/16 and I had encounted them before on my own orginal box when I replaced the leaky cover. I found that most of the studs came out instead of the nuts coming off. There was only one where the stud remained. I will have to see if these should be loctited in on reassembly.
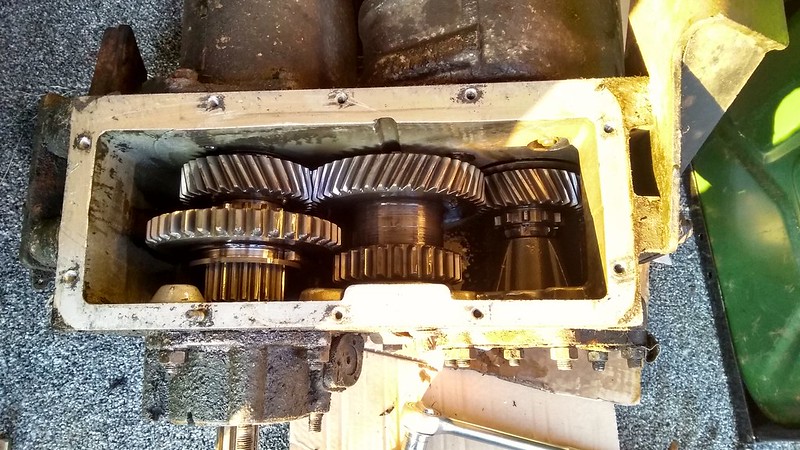
The gears look in pretty good nick, and all spin nicely. Though I will still replace the bearings when I get a overhaul kit. Next up is removing the rear output shaft bearing cover (to the right in the above picture), this just involves removing the nuts (or studs if they come undone) and then gently levering the cover away from the case. I accidently neglected to take pictures of this.
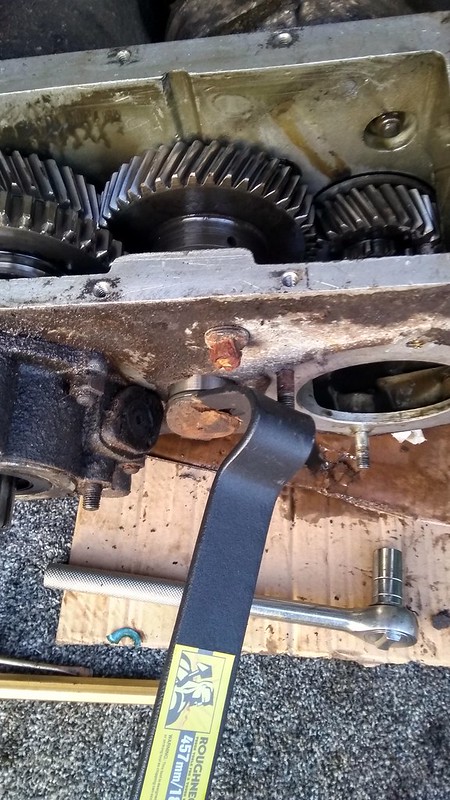
To remove the shaft that the intermediate gear sits on you need to remove another 5/16W locking nut and then use "Service Tool 605862" to remove the shaft. I don't have a service tool but I do have a crowbar that serves the same purpose. No great force is required to remove it, just lever it fowards then it will come out by hand. Making sure you support the gear with your other hand.
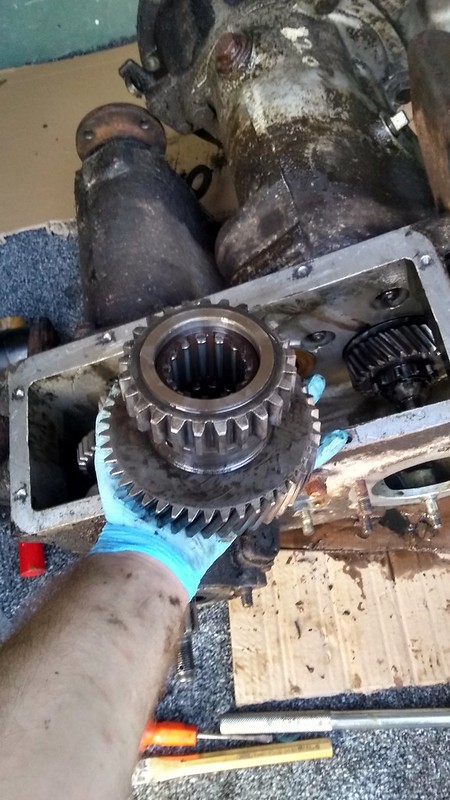
The gear can then be rolled out of the case and it turns out there are two needle roller bearings inside it, that the shaft goes though. As they fell out when I lifted it out.
With the gear removed it's just a case of removing the last 3 nuts that hold the cases together. I put a socket on them and then gently tapped the ratchet with the rubber mallet to free them off, then used just the socket in my fingers to spin the nuts off as they are recessed. Thankfully as they live in an oil bath they were very easy to undo.
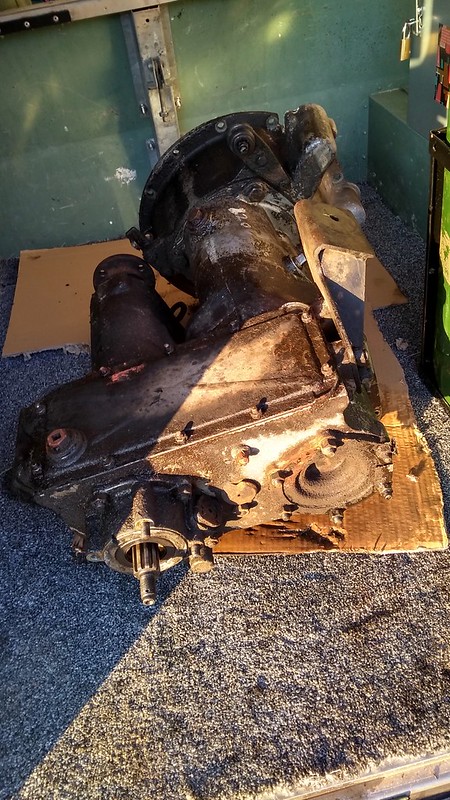
Lastly it's just a case of gently tapping the cases apart with the rubber mallet to get them moving. Then carefully pulling the gearbox output gear though the hole in the transfer case.
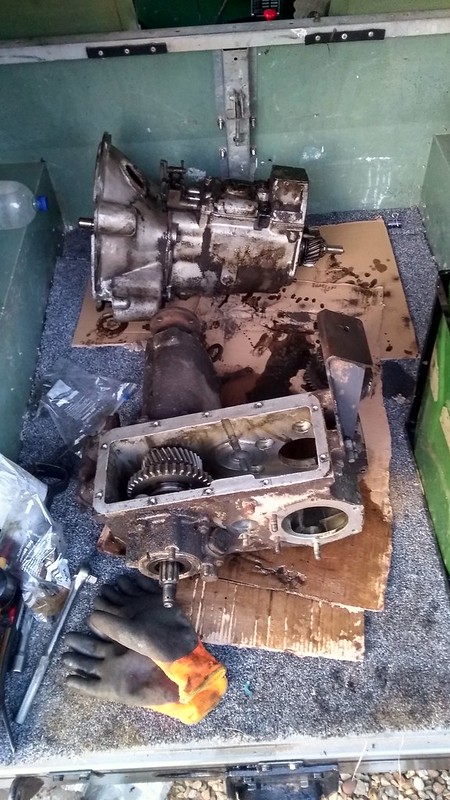
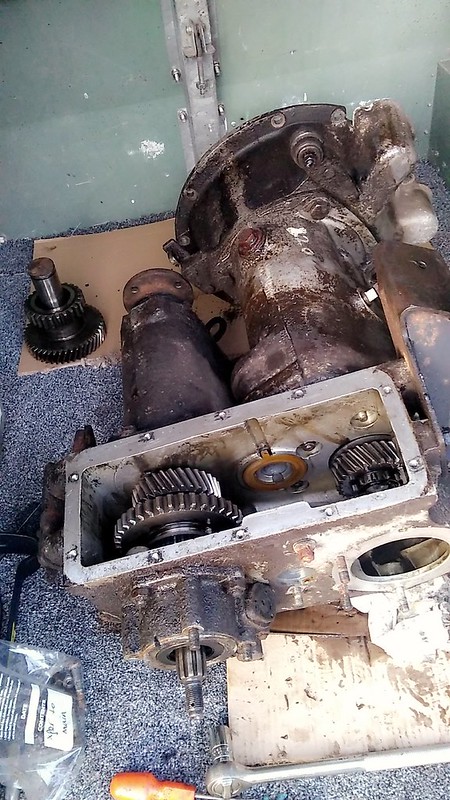
Once separated, the transfer case is fairly easy to move. I was able to lift/carry it to the garage. The main gearbox is an absolute unit in comparison (small but dense) and will require assistance to move.
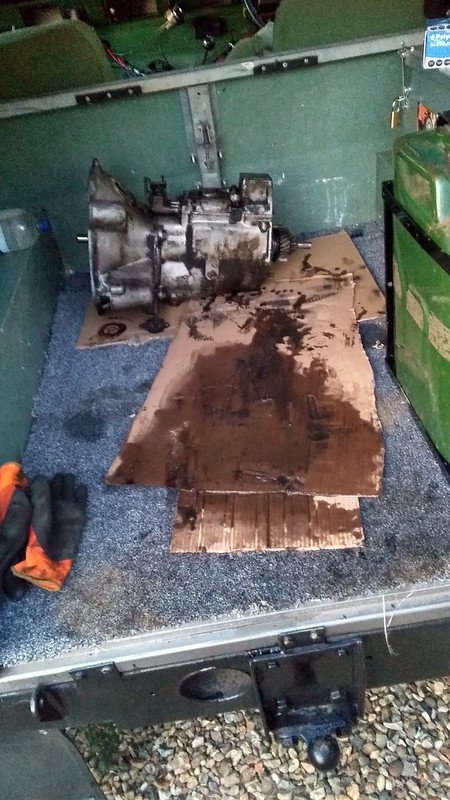
My next step is to clean up the parts removed that are in the cardboard box, so they can be stored. Then I will teardown the transfer case and clean the casing. The mainbox will also be moved to the garage.